What began as a phenomenon and a statement is now gaining traction in real-world. The Internet of Things (IoT) have come to stay. We used to have just the Internet to ourselves – using it to communicate with one another, share files and follow the latest news online.
With the propositions of the Internet of Things (IoT), our devices would now get smarter and offer better operational capabilities than they originally would have offered.
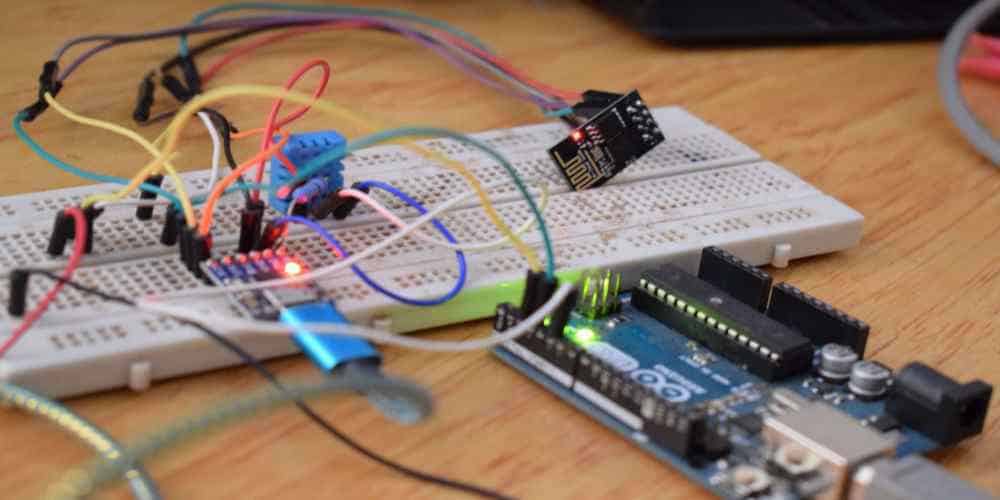
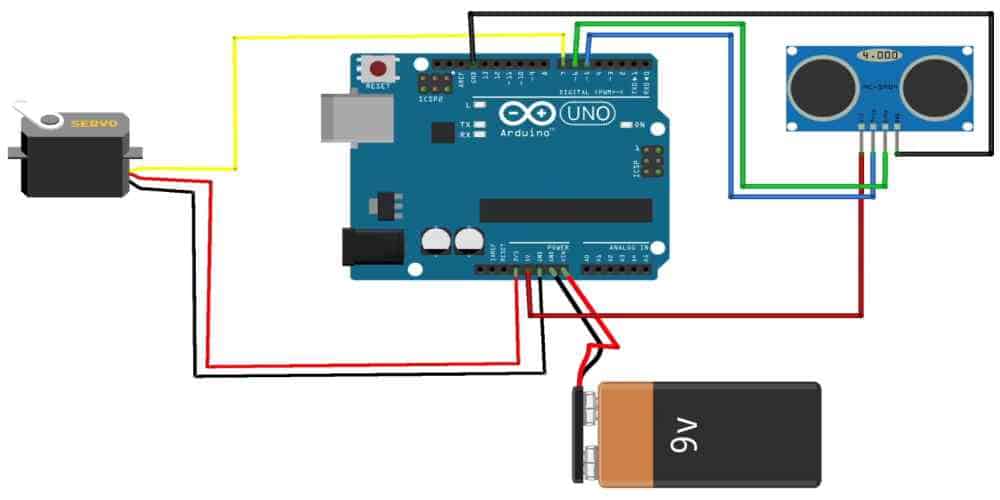
Now, the development of IoT solutions has taken a new dimension with the integration of the Arduino open-source hardware and software development platform for electronics. In this article, we talk about the correlation of the Arduino platform with the Internet of Things (IoT) and some of the projects that have been developed on this platform.

What is the Internet of Things?
The Internet of Things or IoT for short, according to TechTarget, is a “system of interrelated computing devices, mechanical and digital machines.”
The Internet of Things (IoT) seek to make devices smarter and fully-optimized for Internet connectivity. You can now use the Internet to facilitate the advanced operations of your home and office electronics.
Understand what Arduino Proposes
As an open-source hardware and software platform, Arduino paves the way for electronics makers and hobbyists alike to use the platform to develop and deploy prototypes of newer electronic solutions.
The role of the platform towards the advancement of the Internet of Things (IoT) is to offer a wide range of tools and solutions, designed to empower electronics hobbyists with the resources to make IoT-optimized devices.
A Match Made in Heaven
IoT boards can now be used to make different kinds of IoT (electronic solutions). This is an opportunity for electronics hobbyists to seize an opportunity of using a DIY process to make newer device solutions that would be powered by the IoT.
Top IoT Projects Built Using Arduino Boards
By using the Arduino boards and other varieties of solutions offered by the platform, electronics hobbyists have been able to create newer electronic solutions.
In no particular order, here are the top three (3) IoT projects built using the Arduino boards:
1. Plants Communicator
Who could have believed that a time would come when plants and indeed, some inanimate items would “speak” or have a medium of communication?
That is another wonder of the world brewing right there in the background and Arduino is championing that cause.
The project called Plant Communicator is self-explanatory – it aims at making plans communicate, “talk” or “speak.”
How does this work? Let us start by understanding some of the core elements that made it so. Here are the major platforms and apps used to build the Plant Communicator:
- ThingSpeak: this is an API that allows for the plotting of graphs. The plotted graphs come in handy in monitoring the state and performance of the soil used for the plants.
- Zapier: the project used the Zapier API to enable a smooth flow of communicating with different apps. For example, the Zapier was used as an automation tool for sending out emails to the plant owners based on the data received from the Arduino board.
Components
The core components used for the Plant Communicator project include:
- DIY moisture sensor
- TMP36 temperature sensor and;
- Phototransistor
Project Outcome
The major motivation for the Plant Communicator is the need to simplify how plant growth is monitored. Another factor motivating the project is the need to provide a thriving environment for the plants to grow.
In light of this, the solution offered by the Plant Communicator helped to provide the right temperature that would bolster the plants’ growth.
Besides, it is impressive to see that this project facilitated the excellent monitoring of the light, temperature and moisture levels of the plants.
This way, you can keep an eye on your plants, feed it with the nutrients, while leveraging the data from the graphs to find out how best to nurture the plants.
2. Self-Service Cat Feeder

How do you attend to the needs of your canine friend, especially if it has to do with feeding? Do you let your car roam about or you help it out with eating? More often than not, the latter is the case.
But what happens when you don’t have all the time on your hands or you are simply not in the mood for “cat’s care?” That would mean leaving the cat hungry – and angry.
Since you want to take care of it while having the time to work on other things, it would be a good idea to explore what the Self-Service Cat Feeder does.
It is a cat-centric feeding project designed to save cat owners the time spent on attending to their canine friend’s feeding needs, while giving the cats a chance at taking care of themselves.
Here are additional pieces of information about this Arduino IoT project:
Feeder Construction
To construct the self-service feeder, a plastic container and a can of chips were used. A limit switch that has a built-in Light Emitting Diode (LED) was also used as a button.
Cat Training
You don’t expect the cat to settle into self-feeding, when it has been dependent all of its life. For this reason, the project moved away from the feeder construction and other technicalities and focused on what mattered the most – training the cat.
The cat was trained for a minimum of 7 days (a week). During the training, the cat was shown how to find its food – which is by poking the nose into an opening/hole and pouring the portion of dry food stored in the can.
To make it simpler, a homemade dispenser was made to rotate the servo. The Arduino board controls this servo drive with a button. This dedicated button is what the cat presses to pour out the dry portions of food.
Feeder Operation
The operation of the feeder is mainly manned by the servo drive, under the control of the Arduino board. Now, for the feeder to reach the full potentials, it is expected to be independent and at the same time, be functional.
This is the reason for the integration of a potentiometer, which helps to adjust the amount of feed (dry portions of food) to be pushed out on each press by the cat.
The project also considered the possibility of the servo from malfunctioning, especially when there are multiple presses. This potential challenge was nipped in the bud with the addition of an electronic key on the transistor. The work of the electronic key is to disable the servo drive between pressing the button.
That way, the servo would be safe from malfunctioning or breaking, especially if feed is stuck in the dispenser.
3. Smartphone-Controlled Electric Skateboard
Do you love skating? Want to take a shot at it but you are scared you may be unable to operate the skateboard?
Well, you stand a chance to have all the fun you want without breaking a sweat. The Smartphone-Controlled Electric Skateboard is one of the IoT projects built using the Arduino boards.
Here are some of the things you need to know about the project:
Electronic Operation
You can operate or use the skateboard by clicking on a few buttons on your smartphone. This takes off the trouble of manually navigating with the board.
Excellent Obstacle Avoidance
Since you are not fully in control of the skateboard, there is that concern on what it would be like to be out on the open, without anything to keep you safe.
Not to worry – the Smartphone-Controlled Electric Skateboard is fully-equipped with some of the best safety features, most especially the proximity sensor. This sensor, among many other things, takes note of the distance between the skateboard and a collision and helps to avoid that from happening. It also has obstacle detection capabilities.
Speed Management
Again, not manually controlling the board aggravates concerns on the safety. For this purpose, the project equipped the skateboard with a three-tiered controllable speed system. With this, you can control the board’s speed, by switching between the speed methods/options.
Visibility
You don’t need to bother about how clear your skating pathway is because the skateboard has been equipped with the necessary facilities. It features a three-dimensional (3D) mount, which holds four Light Emitting Diodes (LEDs) that add a headlight to the skateboard.
Getting Started with Building IoT Projects Using Arduino Boards

Using the Arduino boards is your pathway to integrating Internet of Things (IoT) into a wide range of electronics and related electronically-powered products.
Just like the ones on this list, you can use the Arduino boards to start working on your latest projects.
Here are some of the things you need to know before getting started:
1. Start with Learning
Visit the Arduino Docs page to read up as many pieces of information as you can on how to use the Arduino boards to build the best IoT projects.
2. Software Choice
There are two (2) software options. The one you choose should solely depend on the managerial capabilities.
First, there is the Arduino Web Editor. Also called the online IDE, it helps you to start working on and saving your sketches in the cloud. You can also access the sketches from any device, as well as having the sketches backed up in real-time.
Second, you can consider going for the offline variant – the desktop IDE. You will need have the supported Operating System (OS) to use the Arduino desktop IDE. Some of the supported OS are:
- Portable IDE (Windows and Linux)
- Windows
- Linux
- Mac OS and;
- ChromeOS (Arduino Create App).
Final Words
Several Internet of Things (IoT) projects have been built using both the Arduino boards and the wide range of tools offered by Arduino. To get started with yours, visit the Arduino IoT homepage.

