DipTrace is a powerful Printed Circuit Board (PCB) design software that is widely used by engineers and designers. It is a user-friendly software that allows users to create complex designs with ease. DipTrace has a comprehensive set of tools that are designed to help users create high-quality PCB designs quickly and efficiently.
One of the key features of DipTrace is its intuitive interface. The software is designed to be easy to use, even for those who have no experience with PCB design. The interface is clean and uncluttered, making it easy to navigate and find the tools and features you need. DipTrace also has a wide range of libraries and components that can be used to speed up the design process.
Another benefit of DipTrace is its affordability. Compared to other PCB design software, DipTrace is relatively inexpensive, making it accessible to a wider range of users. Despite its low cost, DipTrace is a powerful software that can handle complex designs. It is also regularly updated with new features and improvements, ensuring that users always have access to the latest tools and technologies.
Getting Started with DipTrace PCB Design
System Requirements
Before starting to use DipTrace PCB Design, make sure your computer meets the following system requirements:
| Operating System | Windows 7/8/10 or higher |
|---|---|
| Processor | 2 GHz or higher |
| RAM | 4 GB or more |
| Hard Disk Space | 2 GB of free space |
Installation
To install DipTrace PCB Design, follow these steps:
- Download the installation file from the DipTrace website.
- Double-click the installation file to start the installation process.
- Follow the on-screen instructions to complete the installation.
Setup
Once you have installed DipTrace PCB Design, you can start using it by following these steps:
- Launch DipTrace PCB Design.
- Choose the type of project you want to create, such as a schematic or a PCB layout.
- Start designing your project using the various tools and features available in DipTrace PCB Design.
Remember to save your work regularly to avoid losing any progress. DipTrace PCB Design also offers various tutorials and guides to help you get started and improve your skills.
That’s it! You are now ready to start designing your own PCBs using DipTrace PCB Design.
Creating a New Project

When starting a new project in DipTrace, the first step is to create a new project file. This can be done by selecting “New Project” from the “File” menu or by clicking on the “New Project” icon in the toolbar.
Schematic Design
Once the project file has been created, the next step is to create a schematic design. This can be done by selecting “New Schematic” from the “File” menu or by clicking on the “New Schematic” icon in the toolbar.
In the schematic design phase, you can add components to the schematic and connect them with wires to create a circuit diagram. DipTrace provides a wide range of tools and features to make the schematic design process easy and efficient. You can add components from the built-in libraries or create your own custom components.
PCB Layout Design
After the schematic design is complete, the next step is to create a PCB layout design. This can be done by selecting “New Layout” from the “File” menu or by clicking on the “New Layout” icon in the toolbar.
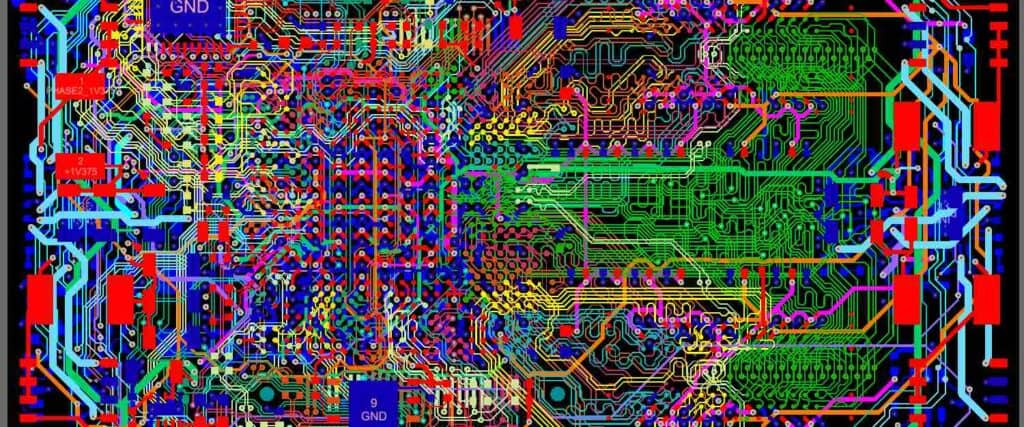
In the PCB layout design phase, you can place the components on the board and route the traces to create the physical layout of the circuit board. DipTrace provides a variety of tools and features to make the PCB layout design process easy and efficient. You can use auto-routing or manually route the traces to create the best layout for your design.
Overall, DipTrace is a powerful and user-friendly tool for creating PCB designs. With its intuitive interface and extensive feature set, it is an excellent choice for both beginners and experienced designers.
Working with Components
Adding Components to Schematic
When designing a PCB, DipTrace allows you to add components to the schematic with ease. To add a component, select the “Add Component” button from the toolbar or use the hotkey “Ctrl + I”. This will open the “Select Component” window, where you can choose from a list of pre-made components or create a custom one. Once you have chosen your component, simply click on the schematic to place it.
Editing Component Properties
After adding a component to the schematic, you can edit its properties by double-clicking on it. This will open the “Component Properties” window, where you can modify parameters such as the component’s name, value, footprint, and more. You can also add custom parameters to the component by clicking on the “Add” button and specifying the parameter name and value.
Creating Custom Components
DipTrace allows you to create custom components to fit your specific design needs. To create a custom component, select the “Create Component” button from the toolbar or use the hotkey “Ctrl + Shift + I”. This will open the “Component Editor” window, where you can draw the component’s schematic symbol and define its properties. You can also import a 3D model of the component to visualize it in 3D mode.
Overall, DipTrace’s component management system is intuitive and flexible, allowing designers to easily add, edit, and create custom components for their PCB designs.
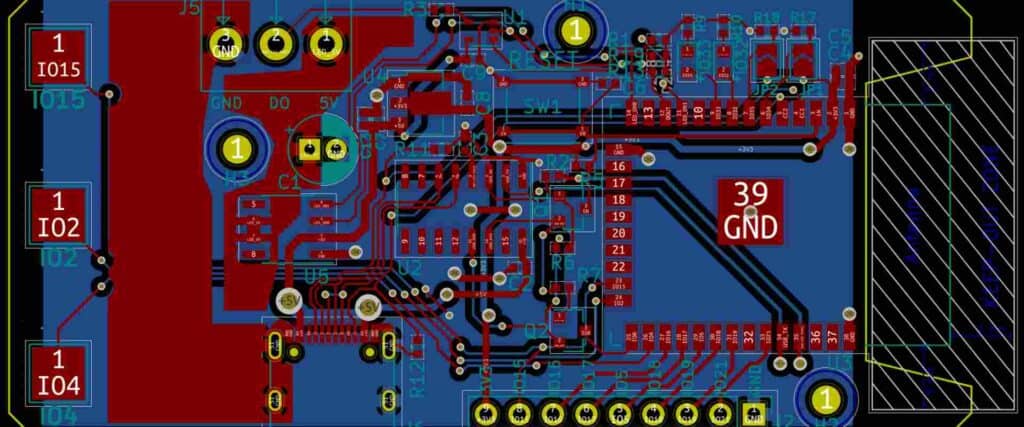
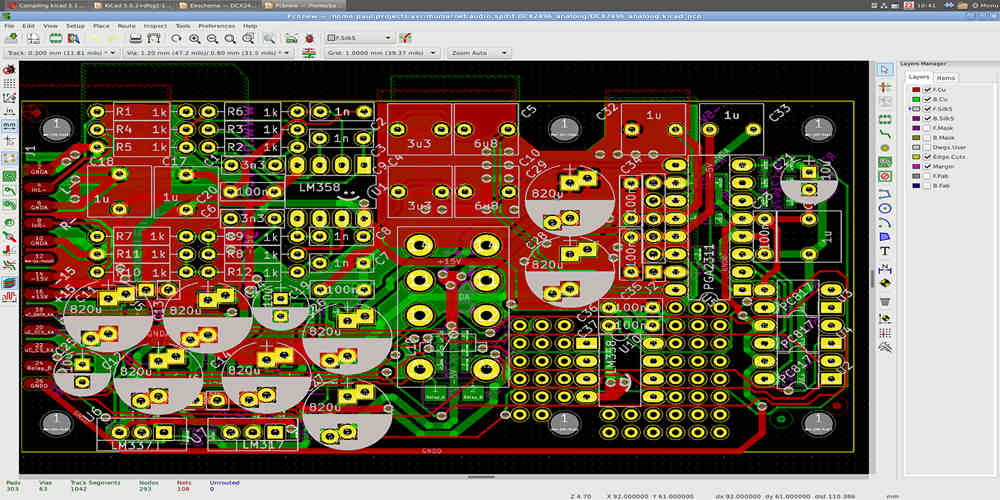
Designing the PCB Layout
When designing a PCB layout in DipTrace, there are three main steps to follow: placing components, routing traces, and design rule checking.
Placing Components
Before routing traces, it’s important to place components in an organized and efficient manner. DipTrace’s Component Placement tool allows you to easily drag and drop components onto the board, align them, and rotate them as needed.
One helpful feature is the ability to view the board in 3D mode, which can give you a better sense of how the components will fit together and identify any potential issues. Additionally, DipTrace has a feature that automatically arranges components in a way that minimizes the length of the connections between them.
Routing Traces
Once components are placed, it’s time to route the traces between them. DipTrace’s Trace Routing tool allows you to easily create and edit traces, as well as add vias and adjust trace widths.
One helpful feature is the ability to use the Autorouter tool, which can automatically route the traces for you based on your design rules. However, it’s important to note that manual routing can often result in a more optimized and efficient layout.
Design Rule Checking
Before finalizing your design, it’s important to perform a Design Rule Check (DRC) to ensure that your layout meets your desired specifications and requirements. DipTrace’s DRC tool checks for issues such as overlapping traces, incorrect trace widths, and minimum clearance violations.
One helpful feature is the ability to customize your DRC settings to fit your specific needs. For example, you can set minimum trace widths and clearances, as well as specify which layers should be checked.
By following these steps and utilizing DipTrace’s tools and features, you can create a well-organized and optimized PCB layout for your project.
Generating Output Files
After designing a PCB layout using DipTrace, the next step is to generate output files that can be used for manufacturing the board. DipTrace provides several output file options, including Gerber files, drill files, and bill of materials.
Gerber Files
Gerber files are the standard file format used for PCB manufacturing. DipTrace allows users to generate Gerber files for all layers of the PCB design, including copper layers, solder mask layers, and silkscreen layers. These files can be easily exported and sent to a PCB manufacturer.
Drill Files
Drill files are used to provide the drilling information for the PCB. DipTrace generates drill files in Excellon format, which is the most commonly used format in the industry. These files include information on the location and size of each hole, as well as the drill tool used for each hole.
Bill of Materials
The bill of materials (BOM) is a list of all the components used in the PCB design. DipTrace allows users to generate a BOM in a variety of formats, including CSV, HTML, and PDF. The BOM includes information on each component, such as its part number, value, and quantity.
Overall, DipTrace makes it easy to generate the necessary output files for PCB manufacturing. By providing a variety of file formats and customization options, users can ensure that their design is accurately translated into a physical board.
