Upverter PCB design is a popular tool for electronic engineers and hobbyists to create printed circuit boards (PCBs) for their projects. It offers a user-friendly interface that allows users to design, test, and validate their circuit boards before sending them off for manufacturing. With its cloud-based platform, Upverter PCB design allows for real-time collaboration between team members, making it an ideal tool for remote work.
One of the key features of Upverter PCB design is its library of pre-built components. This library includes a vast array of components, including microcontrollers, sensors, and connectors, which can be easily dragged and dropped onto the board. This saves time and effort in the design process, as users do not need to create each component from scratch. Additionally, Upverter PCB design offers a simulation tool that allows users to test their circuit designs before sending them off for manufacturing. This helps to identify any potential issues or errors before the board is produced, saving both time and money.
Overall, Upverter PCB design is a powerful and user-friendly tool for creating printed circuit boards. Its library of pre-built components and simulation tool make it an ideal choice for electronic engineers and hobbyists alike.
Overview
Upverter PCB Design is a web-based software tool that allows users to design and prototype printed circuit boards (PCBs) quickly and easily. The software is designed to be user-friendly, with a range of features that make it ideal for both beginners and experienced PCB designers.
What is Upverter PCB Design?
Upverter PCB Design is a cloud-based software tool that allows users to design and prototype PCBs. The software is designed to be easy to use and includes a range of features that make it ideal for both beginners and experienced PCB designers. Users can create schematic designs, layout PCBs, and generate manufacturing files all within the same software tool.
How does Upverter PCB Design work?
Upverter PCB Design is a web-based tool that can be accessed from anywhere with an internet connection. Users can create schematic designs using a drag-and-drop interface, and then use the software’s auto-routing feature to lay out the PCB. The software also includes a range of design rule checks (DRCs) to ensure that the PCB meets industry standards.
Features of Upverter PCB Design
Upverter PCB Design includes a range of features that make it a powerful tool for PCB design. Some of the key features include:
- Drag-and-drop interface for schematic design
- Auto-routing for PCB layout
- Design rule checks (DRCs) to ensure compliance with industry standards
- Real-time collaboration with team members
- Integration with popular design tools such as Altium and Eagle
- Easy import and export of design files
Overall, Upverter PCB Design is a powerful and user-friendly tool for PCB design and prototyping. Its range of features and ease of use make it an ideal choice for both beginners and experienced PCB designers.
Getting Started

If you’re new to Upverter PCB design, this section will help you get started with the platform. In this section, we’ll cover the basics of creating an account, navigating the interface, creating a new project, and importing existing designs.
Creating an Account
Before you can start using Upverter, you’ll need to create an account. To do this, simply go to the Upverter website and click on the “Sign Up” button. You’ll be asked to provide your name, email address, and a password. Once you’ve entered this information, click on the “Create Account” button, and you’re ready to go.
Navigating the Interface
Once you’ve created your account, you’ll be taken to the Upverter dashboard. From here, you can access all of the features and tools that Upverter has to offer. The interface is designed to be intuitive and easy to use, with all of the key features accessible from the main dashboard.
Creating a New Project
To create a new project in Upverter, click on the “New Project” button on the dashboard. You’ll be prompted to give your project a name and a description. Once you’ve done this, you can start adding components to your project and designing your PCB.
Importing Existing Designs
If you’ve already created a PCB design using another tool, you can easily import it into Upverter. To do this, simply click on the “Import” button on the dashboard and select the file you want to import. Upverter supports a wide range of file formats, so you should be able to import most designs without any issues.
That’s it for this section. With these basics covered, you should be able to get started with Upverter PCB design and start creating your own PCB designs.
Designing a PCB
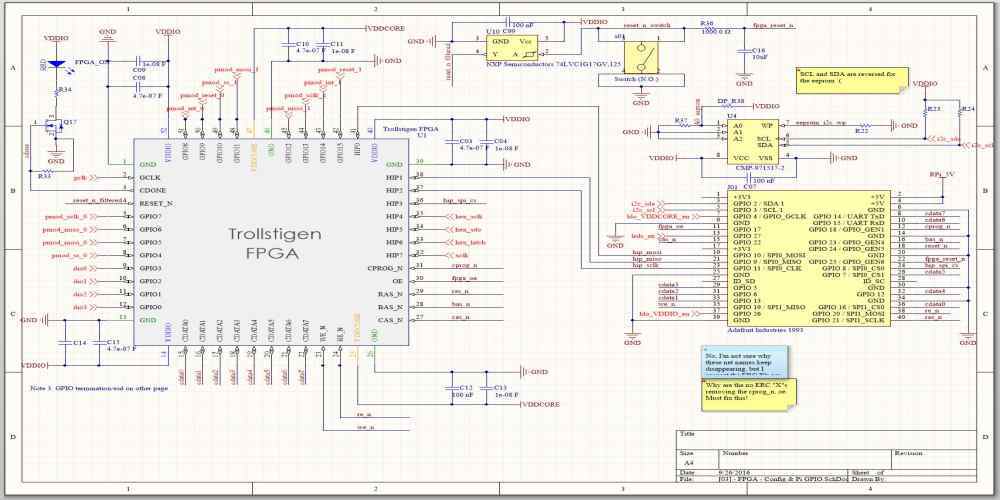
Schematic design
The first step in designing a PCB using Upverter is to create a schematic. This involves adding components to the schematic editor and connecting them with wires to create a circuit diagram. Upverter provides a wide range of components to choose from, and users can also create their own custom components if needed.
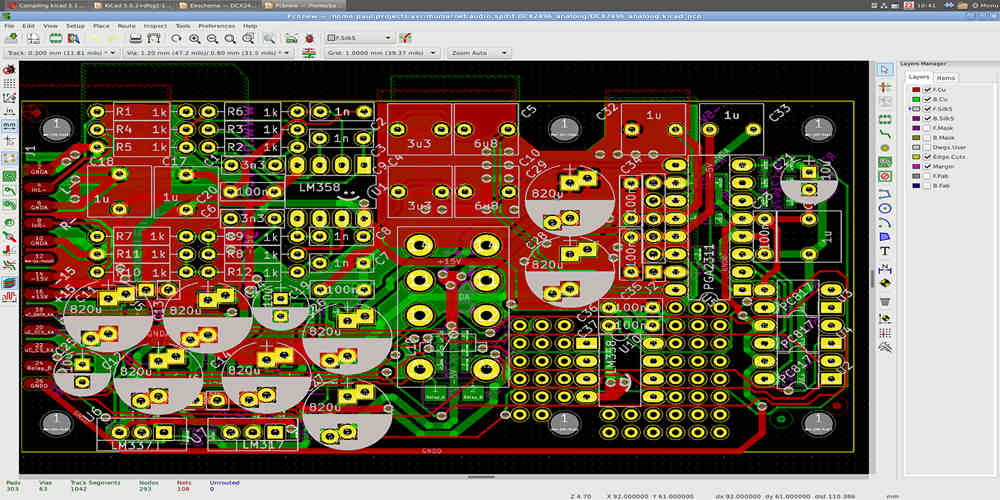
Layout design
Once the schematic is complete, the next step is to create the PCB layout. Upverter provides a user-friendly interface for placing components and routing traces. Users can easily drag and drop components onto the board and adjust their placement as needed. The software also includes tools for routing traces, adding vias, and creating copper pours.
Design rule checking (DRC)
After the layout is complete, it’s important to run a design rule check (DRC) to ensure that the design meets the requirements for manufacturing. Upverter includes a built-in DRC tool that checks for issues such as trace width violations, clearance violations, and overlapping components.
Exporting Gerber files
Finally, once the design is complete and has passed the DRC, it’s time to export the Gerber files. These files contain all the information needed to manufacture the PCB, including the placement of components, the routing of traces, and the location of drill holes. Upverter makes it easy to export Gerber files in the correct format for the manufacturer of your choice.
Overall, designing a PCB with Upverter is a straightforward process that can be completed by users with a range of experience levels. The software provides a range of tools and features to make the process as easy as possible, while still ensuring that the final design meets all the necessary requirements for manufacturing.
Collaboration and Sharing

Collaboration and sharing are essential aspects of the PCB design process. Upverter makes it easy for teams to work together and share their designs with others.
Team Collaboration
Upverter allows teams to collaborate on a design in real-time. Multiple team members can work on the same design simultaneously, making it easy to share ideas and make changes. The platform also includes a chat feature, enabling team members to communicate with each other directly within the app.
Sharing Designs with Non-Users
Upverter makes it easy to share designs with non-users. Users can share their designs with anyone via a public link, which can be accessed without an Upverter account. This feature is particularly useful for sharing designs with clients, vendors, or other stakeholders who may not have an Upverter account.
Version Control
Upverter includes version control, making it easy to keep track of changes made to a design. Users can easily revert to previous versions of a design if necessary, and the platform automatically saves a new version of a design every time it is edited. This feature ensures that teams can work confidently, knowing that they can always go back to a previous version of a design if needed.
In conclusion, Upverter’s collaboration and sharing features make it easy for teams to work together and share their designs with others. The platform’s real-time collaboration, sharing with non-users, and version control features are essential tools for any PCB design team.
Pricing and Plans

Free vs Paid Plans
Upverter offers both free and paid plans for its PCB design software. The free plan provides access to all the basic features needed to design a PCB, such as schematic capture, PCB layout, and Gerber file export. However, it comes with certain limitations, such as a maximum of 2 schematic sheets and 2 signal layers.
On the other hand, the paid plans offer more advanced features and capabilities, including unlimited schematic sheets and signal layers, design rule checks, and BOM management. The paid plans also provide access to Upverter’s extensive part library, which includes over 1 million components from leading manufacturers.
Features Included in Paid Plans
Upverter’s paid plans come in three tiers: Starter, Professional, and Enterprise. The Starter plan includes all the basic features needed for small-scale projects, while the Professional and Enterprise plans offer more advanced features for larger-scale projects.
Some of the features included in the paid plans are:
- Design rule checks
- BOM management
- Unlimited schematic sheets and signal layers
- Access to Upverter’s extensive part library
- Advanced layout tools, such as copper pour and differential pair routing
- Collaboration and version control
- Priority support
Pricing Options
Upverter’s pricing is based on a monthly or annual subscription model. The Starter plan starts at $49 per month or $499 per year, while the Professional plan starts at $199 per month or $1,999 per year. The Enterprise plan is available upon request and includes custom pricing based on the specific needs of the organization.
Overall, Upverter’s pricing is competitive with other PCB design software on the market, and the paid plans offer a wide range of features and capabilities to meet the needs of both small and large-scale projects.
