Arduino circuit boards are becoming more and more popular in the PCB industry over time. Many electronics engineers have built their prototypes with Arduino PCBs. Engineers use Arduino PCB in several applications because of its advantages and functions.
Using Arduino to architect your product is a great and smart first step. However, additional steps and technical details require special attention if you want to get the best results from your product!
What is An Arduino PCB?
Arduino is a type of circuit board that is an open-source platform. This circuit board is widely used in the development of electronic projects. The card is based on easy-to-use software and hardware. It includes a programmable physical board called a microcontroller and software. An Arduino board is used to write and upload computer code to a physical board.
An Arduino PCB can read an input, such as a finger on a button or a Twitter message, and turn it into an output, such as activating a motor. You can send commands to the board’s microcontroller to tell it what to do. In addition, the Arduino (Integrated Development Environment) software uses the C++ version, which makes it easy to learn to program.
Arduino PCB can develop digital devices with sensors and control systems. This board is reliable for designing simple or complex devices. Arduino also offers a standard form factor that simplifies microcontroller functionality in a more affordable package.
Arduino was designed to provide non-engineers with an easy-to-use, low-cost tool for developing hardware projects. These boards are released under a Creative Commons license allowing people to create them.
Types of Arduino Boards
You must have come across several Arduino boards from flash memory of your visit to different workstations when working on other projects, each with different functions, specifications, and uses.
1. Lilypad Arduino
These boards are specially designed to fit into e-textile and wearable projects. The Arduino Lilypad is round and helps reduce obstacles. It is easy to attach to other devices. It is commonly used to control various devices such as lights, switches, and motors. Lilypad components are washable, as they can be used in the garment industry.
2. Leonard’s Arduino
This is a type of Arduino board that uses the Atmega 32u4. Arduino Leonardo has 20 digital output and input pins inside. This Arduino PCB board has a power socket, a RESET button, and a micro connection. With this, the reliability of the additional processing unit in it is removed and strengthens the Gerber files needed for a PCB project. This type of Arduino is the most economical, and you can use basic knowledge to operate the auto-router or the Arduino bootloader.
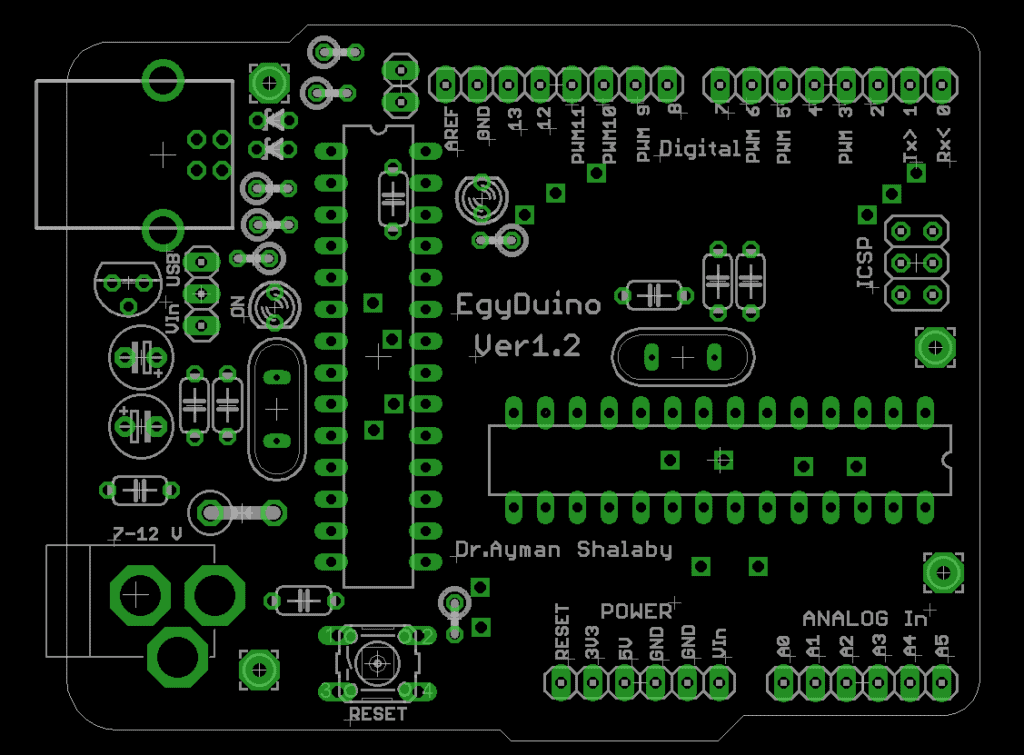
3. Arduino UNO
These maps on PCB projects have various features that help users in their PCB layout projects or PCB design. Arduino UNO is one of the latest Arduino boards. It uses an Atmega16U2 microcontroller and an auto-router. This increases the transfer speed. Arduino UNO board does not require additional devices such as a keyboard, joystick, and mouse.
4. Arduino Shield

This Arduino board of all PCB projects is a pre-built circuit board that connects other circuits in a PCB design. The Arduino shield is attached to the Arduino board. They improve the board’s ability to connect to the Internet. They also control motors and LCDs and establish wireless communications. Arduino’s open-source nature allows easy access to the schematic design for your board and any Arduino shields.
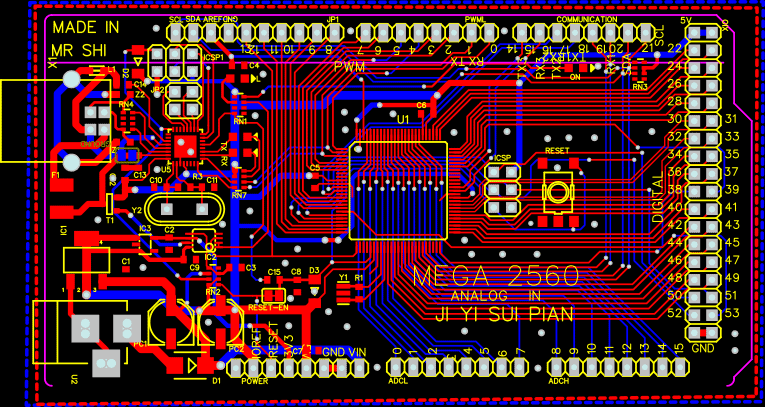
5. Arduino Mega
The large Arduino PCB layout acts as a microcontroller using the Atmega 2560. This large design means it can take more things that other regular boards without any form of compromise.
6. Arduino Red Board
The Arduino Redboard uses a mini USB cable. This circuit board works excellently with Windows 8. When working with this board, there is no need to change the security settings. The red Arduino board uses a USB and FTDI chip to connect to other devices.
Other Types of Custom Arduino Shields
Shield panels are also often used for PCB layout in some of the following applications:
● Ethernet
This may sound a bit ambitious for a new designer, but you can build a shield with Ethernet using a standard controller IC with a built-in PHY and an RJ-45 mag jack connector. The Magjack is important here as it will integrate the magnetic circuit and tip into the connector body.
● Sensor Interface
This board includes an amplifier circuit or ASIC that allows the Arduino to interface with specific sensors. In addition to op-amps, DIP packages will contain SMD components for ASICs and other interfaces. These interfaces typically use SPI, I2C, GPIO, or ADC interfaces.
● Wireless Shield
This board includes a transmitter and receiver for wireless communication using sub-1GHz protocols (Zigbee, LoRa, etc.) or a WiFi bypass. Certain signals are connected to the transmitter using an interface. Conduct research on the placement of the ground plane to keep the signal in place.
● Screen
There is a small OLED screen that can be used on shielded boards. It will connect via SPI with a shielded connector. If you want to build a compact device with a screen, it’s best to attach the screen to the shield board to keep it secure and connect the connections to the pin headers.
Advantages of Arduino PCB Layout
Arduino PCB helps you design and build most electronic projects. This circuit board has the advantages:
● Reliability
Arduino PCBs are more reliable for developing simple and complex electronic projects. The output and input ports are already soldered to this board. You don’t have to worry about solder wear when using it.
● Cost-effective
Arduino boards are a cost-effective solution. It is relatively cheap compared to other microcontrollers. Pre-assembled Arduino modules cost less than $50. You can construct the cheapest version of the Arduino module by hand.
● Ready to use
The Arduino PCB is simple and ready to use. This circuit board is a complete package containing an oscillator, serial communication interface, torch, LED, microcontroller, and 5V regulator. With this component, you don’t have to think about programming connections.
● User Friendly
This is one of the advantages that sets this board apart from other PCBs. Arduino software is convenient for both beginners and specialists. The board has a clear programming environment that allows students to familiarize themselves with how the software works. You don’t need a lot of understanding to get started.
● Open Source Hardware
Arduino is open-source hardware that allows designers to build electronic projects. This circuit board provides a collection of digital and analog pins. The circuit board has printed conductive patterns attached to the surface of the insulating substrate.
● Open Source Software
Arduino PCB software is available to connect with professional programmers. You can extend the language using the C++ library. Arduino provides project-based software. It also includes the C and C++ programming languages and their support. The Arduino Integrated Development Environment (IDE) is very simple to use.
How Can You Convert an Arduino Prototype to a PCB?
If you’ve been frustrated trying to make a PCB more complicated than astrophysics, Arduino is one of your best options! Let’s take a closer look at the steps involved in turning an Arduino prototype into a PCB. It is good to have a basic mastery of PCB designing and soldering components. Construct your prototypes for your projects. Construct the prototypes of your printed circuit board.
● Designing the perfect microcontroller circuit for your prototype
The first variable to consider in the early stages of product development is your microcontroller circuit. Choosing your microcontroller circuit is important because you ideally want to use an open-source architecture that doesn’t need to complicate the development process or increase costs. If a mistake occurs in this step, it will affect the design of the PCB layout, as the layout relies on the entire electronic diagram design.
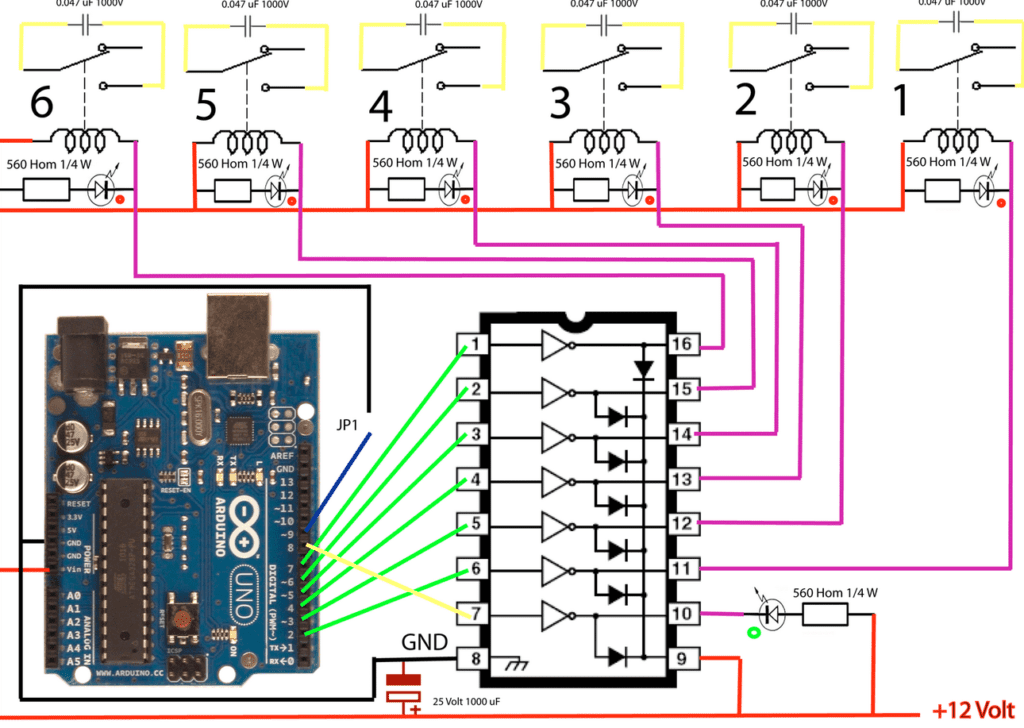
● Create a custom schematic for your favorite Arduino shield
Your Arduino shield is a pre-assembled circuit board that provides additional functionality to your barebones Arduino board. The Arduino Shield Add-on is one of the most important features for you, the product developer, and there is an almost endless collection of Arduino shields that you can use! The design of this board is simple, and it can blend with other projects easily.
Don’t forget that Arduino is open source, so it’s easy for you to work with existing circuit diagrams for any Arduino shield you want to use. It smoothens the design of schematics for electronic circuits and their conversion to PCB designs.
● Create a PCB for your prototype
Once you are content with your prototype’s architecture, you can go on to consider the best PCB design for it. As you know, the open-source nature of Arduino makes it easy to access the schematic design of your board and all Arduino shields. However, you will likely need to customize the PCB based on your prototype’s unique design, functionality, and specifications.
The symbol you use should complement the pinout on the Arduino baseboard; ensure you keep track of which side of the board each pin header will be on. You could also connect these circuits back to the pin header so that they fix it directly to the MCU on the Arduino baseboard.
● Place an order and purchase your prototype PCB
Placing your first PCB prototype order is one of the most exciting stages in the product life cycle process. All your hard work, effort, creativity, and passion will pay off! Not all PCB manufacturers offer the same size.
Some manufacturers focus only on bare PCB manufacturing, and others offer fabrication and soldering. These inexpensive boards allow you to test your prototype’s performance.
● Develop the software and firmware for your prototype
Now that your hardware is ready to go, it’s time to code the firmware and software so your hardware can communicate the way you want it to! This process should be relatively easy since you are dealing with a family of open-source microcontroller architectures that you or your development team will be familiar with.
● Test your prototype in the real world for the first time!
It doesn’t matter how hardworking you or your team are; throughout the development cycle, there will be bugs and failures in the early stages of your product! That’s why careful hardware, software, and firmware architecture testing is so important.
Also, testing at this early stage of development is so important to you, your prototype, and the finished product. Finally, Arduino boards are very affordable, so you don’t have to stress out when experimenting with your prototypes or rolling out the assembly of your product in its final form.
How to Choose the Right Arduino Board
Since there are several different types of Arduino boards, it is important to know which one best suits the needs of your application. The best way to choose this board is to distinguish the trade name on the original board.
The Arduino IDE can program circuit boards when choosing the right board. The Arduino IDE is written in Java. You can get cheap Arduino boards through online websites or electronics stores. Arduino boards come in different types and have different functions, specifications, and benefits.
Choosing the right Arduino board requires consideration of the application you will be using it for. Choosing an Arduino board depends on the budget and needs of the electronic project. If you need the best contract manufacturer for Arduino PCB design, contact Hillman Curtis.
Conclusion
Arduino PCB can help you design and build a prototype. If you prefer to be creative or innovative about your PCB design, Arduino circuit boards are a great choice. If you’re using a router model specifically designed for an Arduino, you can get information from the manufacturer. The board’s hardware and software are open-source and easy to use.
Over the past few years, Arduino UNO circuit boards have been used to design and generate different PCB assembly boards, which helps you save costs and get quality materials and tools that you can track. Every component of all the circuits has the right schematics that connect directly with the voltage regulator.
