Prototype PCB assembly is an essential process in the development of electronic devices. It involves the creation of a small number of printed circuit boards (PCBs) to test and validate the design of a new product. This process is critical for engineers and designers to ensure that the final product meets all the necessary requirements and specifications.
The process of prototype PCB assembly involves several steps, including designing the circuit board layout, ordering the necessary components, and assembling the board. The design process involves creating a schematic diagram of the circuit, which is then converted into a layout that can be printed onto a PCB. Once the layout is complete, the necessary components are ordered, and the board is assembled using automated equipment or by hand.
There are several benefits to prototype PCB assembly, including the ability to test and refine a design before committing to a large-scale production run. This process helps to identify any design flaws or issues early on, which can save time and money in the long run. Additionally, prototype PCB assembly allows for faster development cycles, enabling engineers and designers to bring new products to market more quickly.
What is Prototype PCB Assembly?
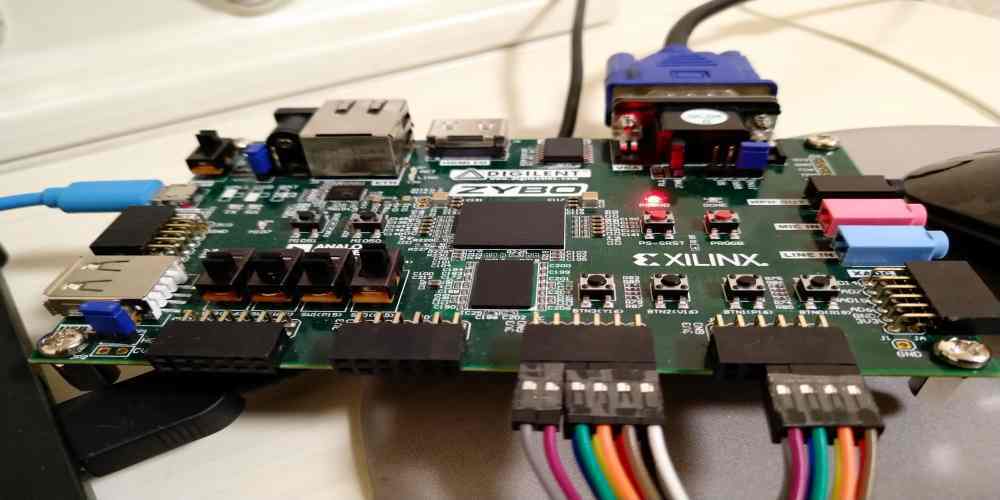
Prototype PCB assembly is the process of creating a small batch of printed circuit boards (PCBs) for testing and validation purposes. These PCBs are typically used to verify the design and functionality of a new product before mass production begins.
During prototype PCB assembly, the PCB design is first created using computer-aided design (CAD) software. The design is then transferred to a prototype PCB manufacturer, who produces the physical PCB using specialized equipment and materials.
Prototype PCB assembly can be done using various methods, including surface-mount technology (SMT) and through-hole technology (THT). SMT involves placing components directly onto the surface of the PCB, while THT involves inserting components into pre-drilled holes in the PCB.
One of the main benefits of prototype PCB assembly is that it allows for quick and cost-effective testing of new product designs. By creating a small batch of PCBs, designers can identify and fix any issues before investing in mass production.
In addition, prototype PCB assembly allows for customization and flexibility in the design process. Designers can make changes and adjustments to the PCB design as needed, without having to worry about the high costs associated with mass production.
Overall, prototype PCB assembly is an essential step in the product development process, helping to ensure that new products are reliable, efficient, and cost-effective.
Benefits of Prototype PCB Assembly
Prototype PCB assembly is an essential process in the development of electronic products. It involves the creation of a small number of printed circuit boards (PCBs) to test and validate the design of a new product. Here are some of the benefits of prototype PCB assembly:
-
Cost-effective: Prototype PCB assembly is a cost-effective way to test and validate a new product design. It allows engineers to identify and fix design flaws early in the development process, reducing the risk of costly mistakes later on.
-
Faster time-to-market: By testing and validating a product design early on, prototype PCB assembly can help reduce the time it takes to bring a new product to market. This is especially important in industries where time-to-market is critical, such as consumer electronics and medical devices.
-
Improved product quality: Prototype PCB assembly allows engineers to test and validate a product design before mass production, ensuring that the final product meets the required quality standards. This can help reduce the risk of product recalls and improve customer satisfaction.
-
Flexibility: Prototype PCB assembly allows engineers to make changes to a product design quickly and easily. This is important in industries where product designs are constantly evolving, such as consumer electronics and automotive.
In conclusion, prototype PCB assembly is a crucial process in the development of electronic products. It is cost-effective, helps reduce time-to-market, improves product quality, and offers flexibility in product design. By investing in prototype PCB assembly, companies can ensure the success of their product development projects.
Factors to Consider for Prototype PCB Assembly
When it comes to prototype PCB assembly, there are several factors that you should consider to ensure that the process runs smoothly and effectively. Here are some of the key factors to keep in mind:
1. PCB Design: Before you begin the assembly process, it’s important to have a well-designed PCB layout. This includes factors such as component placement, routing, and signal integrity. Make sure to work with an experienced PCB designer to create a design that is optimized for your specific needs.
2. Component Selection: Choosing the right components is crucial for the success of your prototype PCB assembly. Consider factors such as cost, availability, lead time, and performance when selecting components. It’s also important to ensure that the components are compatible with your PCB design.
3. Assembly Method: There are several different methods for assembling prototype PCBs, including hand soldering, reflow soldering, and wave soldering. Each method has its own advantages and disadvantages, so it’s important to choose the method that is best suited for your specific project.
4. Testing and Inspection: Once the assembly process is complete, it’s important to thoroughly test and inspect the prototype PCB to ensure that it is functioning as expected. This includes both functional testing and visual inspection to check for any defects or issues.
5. Cost: Finally, it’s important to consider the cost of prototype PCB assembly. While you want to ensure that you are getting a high-quality product, you also need to keep costs in mind to ensure that your project remains within budget.
By considering these factors and working with experienced professionals, you can ensure that your prototype PCB assembly project is a success.
Prototype PCB Assembly Process
Prototype PCB assembly is the process of creating a small number of printed circuit boards (PCBs) for testing and evaluation purposes. This process is essential for engineers and designers who need to test their circuit designs before moving on to mass production.
The prototype PCB assembly process typically involves the following steps:
-
Designing the PCB: The first step is to design the PCB using a computer-aided design (CAD) software. This software allows engineers to create a digital version of the PCB, including the placement of components and the routing of traces.
-
Ordering the PCB: Once the design is complete, engineers can order the PCB from a manufacturer. There are many PCB manufacturers available, and the choice of manufacturer will depend on factors such as cost, lead time, and quality.
-
Soldering the components: Once the PCBs arrive, the next step is to solder the components onto the board. This is typically done by hand using a soldering iron or by using automated pick-and-place machines.
-
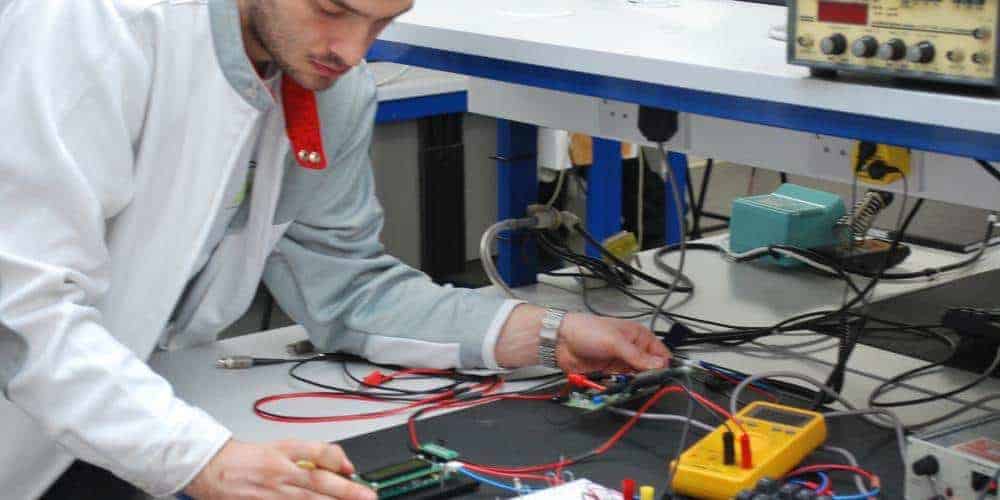
Testing the PCB: After the components are soldered onto the board, the PCB is tested to ensure that it is functioning correctly. This testing may involve using specialized equipment to measure the voltage, current, and other parameters of the circuit.
-
Debugging the PCB: If any issues are found during testing, the PCB must be debugged to identify and fix the problem. This may involve replacing faulty components, re-soldering connections, or making changes to the PCB design.
Overall, the prototype PCB assembly process is a critical step in the development of any electronic product. By creating a small number of PCBs for testing and evaluation, engineers can identify and fix any issues before moving on to mass production, saving time and money in the long run.
Materials Used in Prototype PCB Assembly
Prototype PCB assembly involves the use of various materials that are essential for the successful completion of the manufacturing process. These materials are selected based on their properties, compatibility with other materials, and the specific requirements of the project. Here are some of the most common materials used in prototype PCB assembly:
1. Printed Circuit Boards (PCBs)
PCBs are the foundation of any electronic device and are made up of a non-conductive substrate material, such as fiberglass or ceramic, and a conductive material, such as copper. The conductive material is etched into a specific pattern to create the electrical connections required for the device to function. PCBs are available in different sizes, thicknesses, and layers, depending on the complexity of the circuit.
2. Solder Paste
Solder paste is a mixture of small solder balls, flux, and a binding agent. It is used to attach surface mount components to the PCB. The paste is applied to the PCB using a stencil, and the components are then placed onto the paste. When heated, the solder melts and forms a bond between the component and the PCB.
3. Surface Mount Components
Surface mount components are smaller than through-hole components and are attached to the surface of the PCB. These components include resistors, capacitors, diodes, and integrated circuits. They are attached to the PCB using solder paste and a reflow oven.
4. Through-Hole Components
Through-hole components are larger than surface mount components and have leads that are inserted through holes in the PCB. These components include connectors, switches, and larger capacitors and resistors. They are attached to the PCB using solder and a soldering iron.
5. Enclosures
Enclosures are used to protect the electronic device from damage and to provide a professional appearance. They are available in different sizes, shapes, and materials, such as plastic and metal.
In conclusion, prototype PCB assembly requires the use of various materials that are carefully selected based on their properties and compatibility with other materials. These materials include PCBs, solder paste, surface mount components, through-hole components, and enclosures.
Common Mistakes to Avoid in Prototype PCB Assembly
When it comes to prototype PCB assembly, there are a few common mistakes that can easily be avoided with some careful planning and attention to detail. Here are some of the most common mistakes to watch out for:
1. Not Checking the Bill of Materials (BOM)
One of the most common mistakes in prototype PCB assembly is not checking the BOM. This can lead to missing components, incorrect parts, or even incorrect values. Before starting the assembly process, it’s important to double-check the BOM to ensure that all components are present and correct.
2. Not Checking the PCB Layout
Another common mistake is not checking the PCB layout. It’s important to ensure that the layout matches the schematic and that all components are placed correctly. A mistake in the layout can cause issues with the functionality of the PCB.
3. Not Testing the PCB
Testing the PCB is an important step in the assembly process. It’s important to test the PCB before moving onto the next stage of the project. This can help to identify any issues or errors that need to be addressed before it’s too late.
4. Not Using the Correct Tools
Using the correct tools is important when it comes to prototype PCB assembly. Using the wrong tools can damage components or the PCB itself. It’s important to use the correct tools for the job to ensure that everything is assembled correctly.
5. Not Following Best Practices
Finally, not following best practices can lead to issues with the prototype PCB assembly. This can include not using the correct soldering techniques, not properly cleaning the PCB, or not following the correct assembly order. It’s important to follow best practices to ensure that the PCB is assembled correctly and functions properly.
By avoiding these common mistakes, you can ensure that your prototype PCB assembly goes smoothly and that the end result is a functional and reliable PCB.
Conclusion

Prototype PCB assembly is an essential process in the development of electronic devices. It allows engineers to test their designs and identify any issues before moving on to mass production. In this article, we have explored the various aspects of prototype PCB assembly, including the types of PCBs, the components used, and the assembly process.
One of the critical factors in prototype PCB assembly is the choice of components. Engineers must select components that are compatible with their design and meet the required specifications. They must also consider the availability and cost of the components.
Another critical factor is the assembly process. Engineers must ensure that the assembly process is precise and accurate to avoid any issues with the final product. They must also consider the time and cost involved in the assembly process.
In conclusion, prototype PCB assembly is a complex process that requires careful planning and execution. Engineers must consider various factors, such as component selection, assembly process, and cost, to ensure the success of their project. By following best practices and working with experienced manufacturers, engineers can achieve their desired results and bring their electronic devices to market.
